While this blog shows the replacing of a leather handle on a Cattaraugus 225Q, the principles are the same in most leather washer handled knives. First you need to search out a site that produced leather washers that will work on your knife or if really ambitious make them yourself.
For the Cattaraus 225Q my source was: http://www.twinleather.com/twnhandl.htm, the TW-K4 seemed to be the closest size.
The easiest way to remove the old washers is to cut some leather washers out to give you space to remove the pommel.
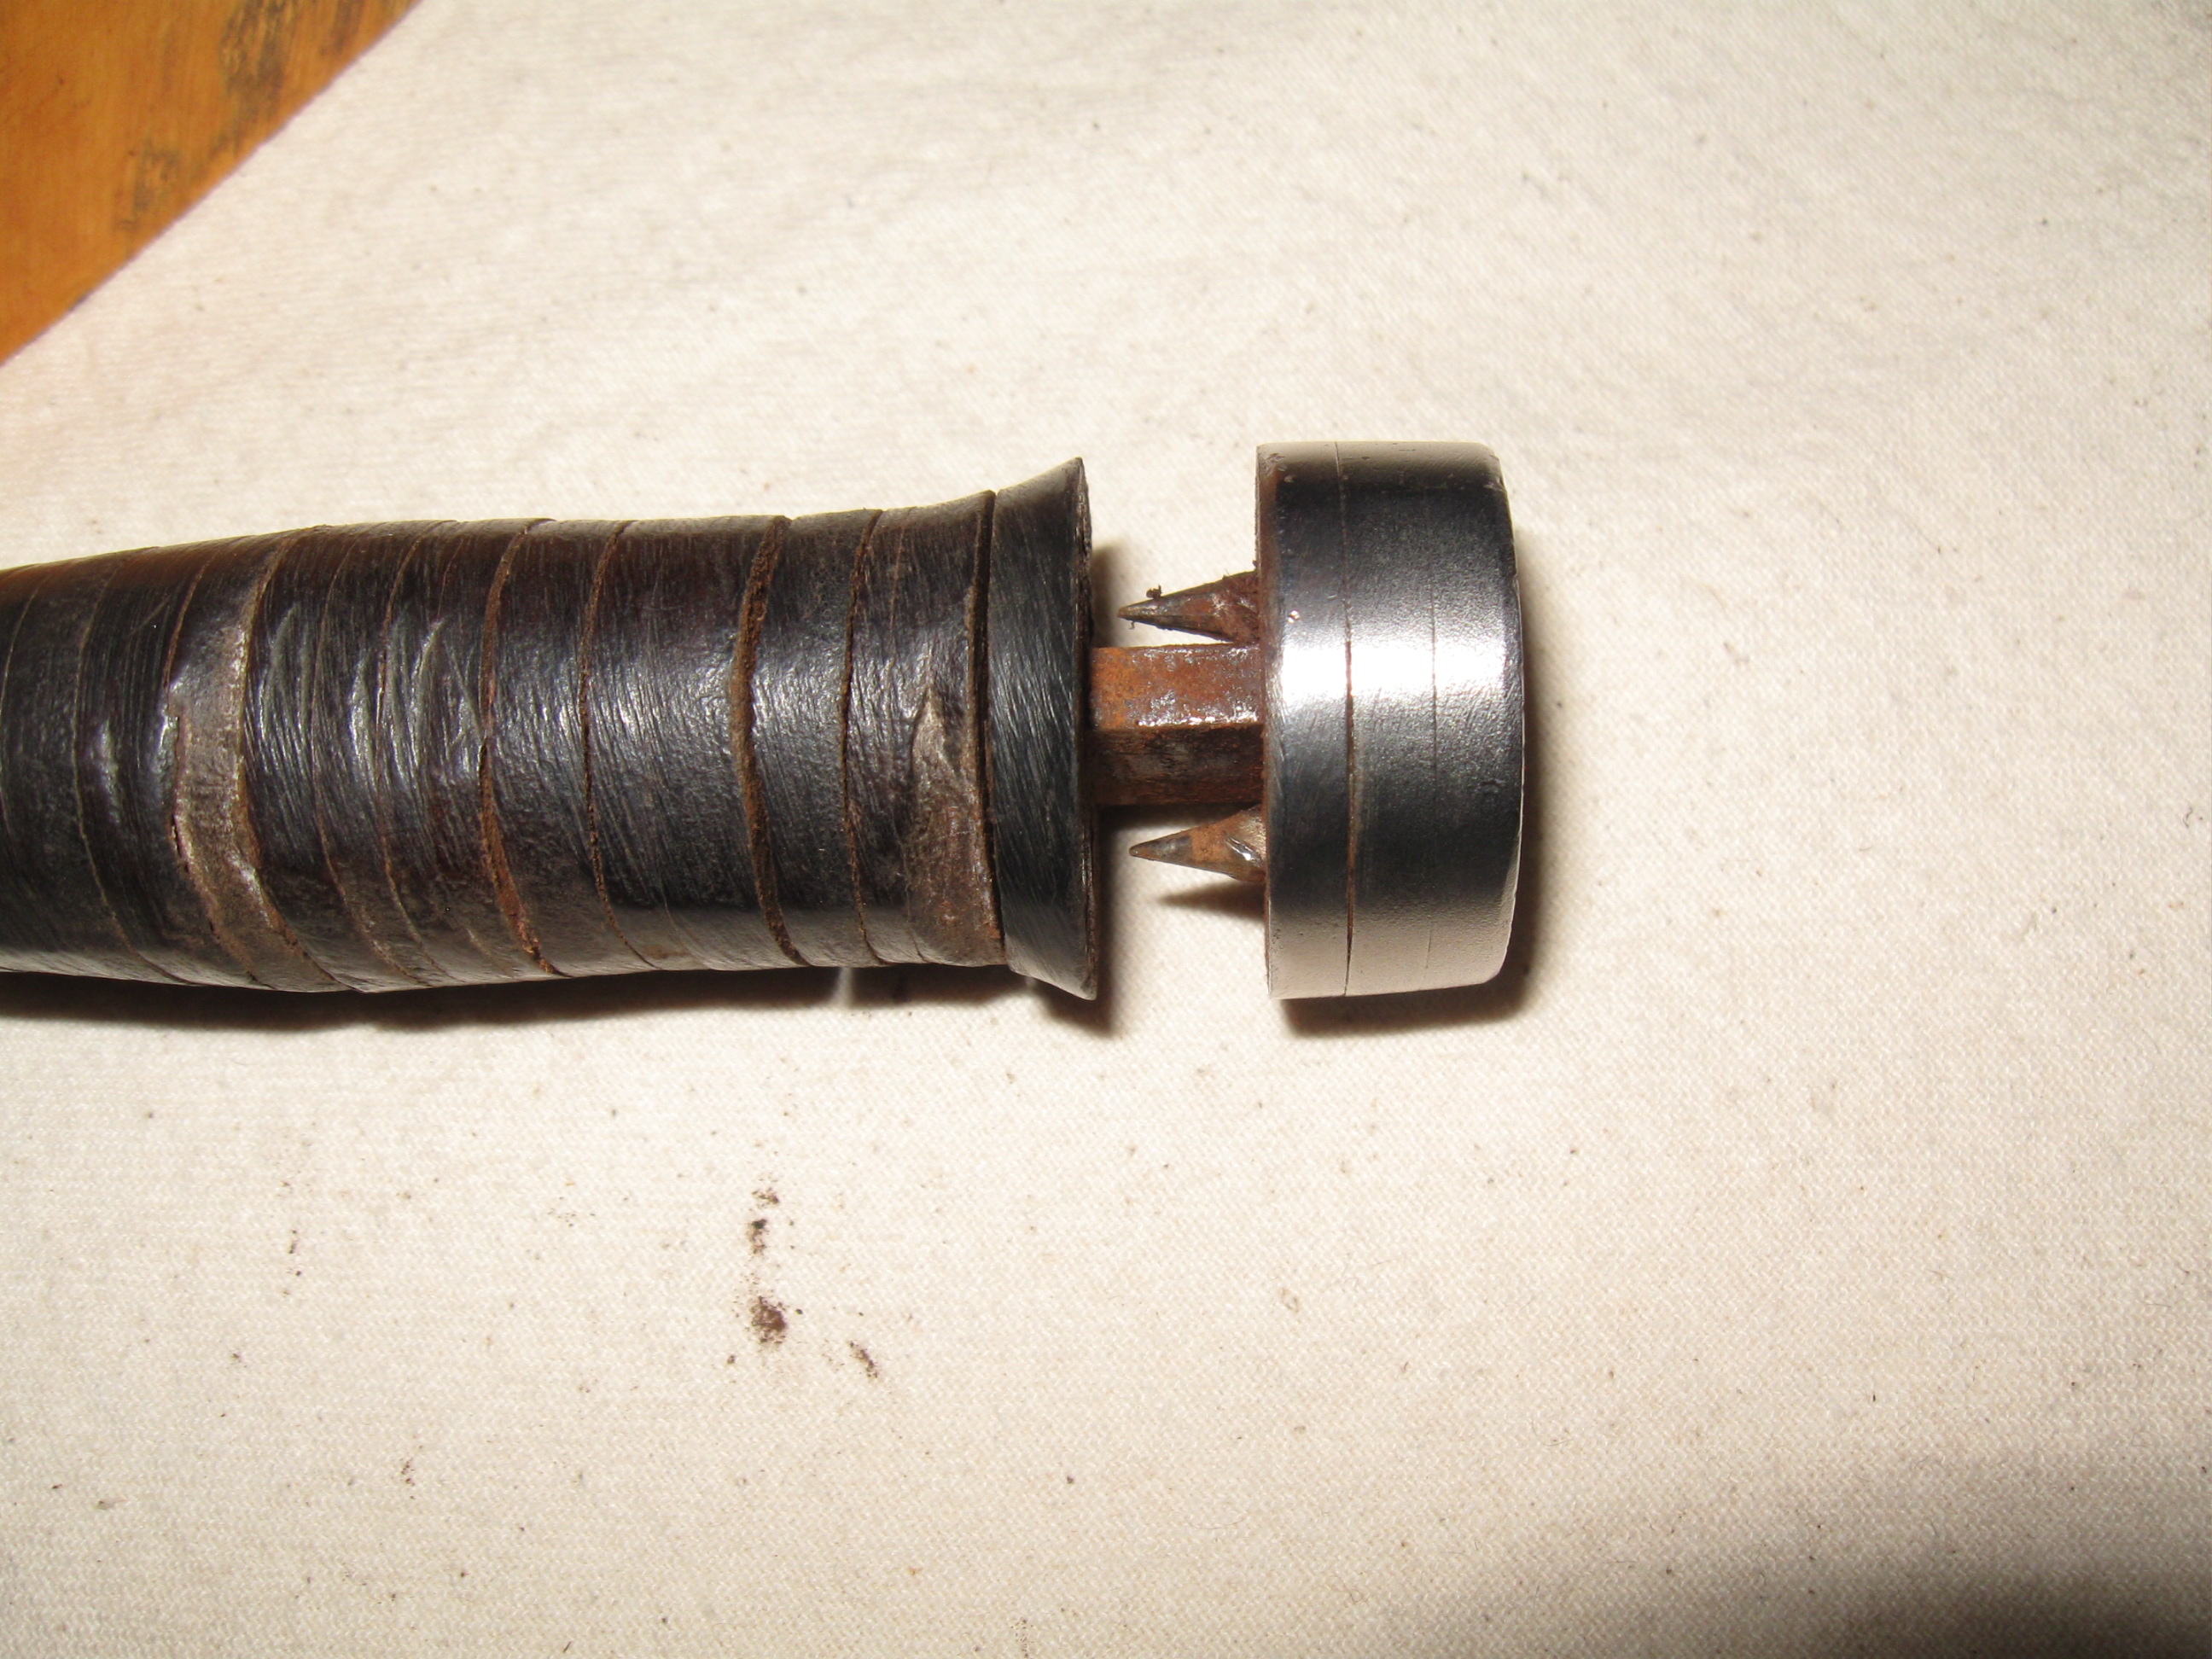
As you can see the Cattaraugus has a 3 piece metal washer pommel with nails going through into the leather washers to secure the pommel in place. These spiked nails go through the 3 metal washers and plastic spacer and into the leather washers, the 3rd rotates to lock down the end cap of the pommel before the spikes are nailed into place..
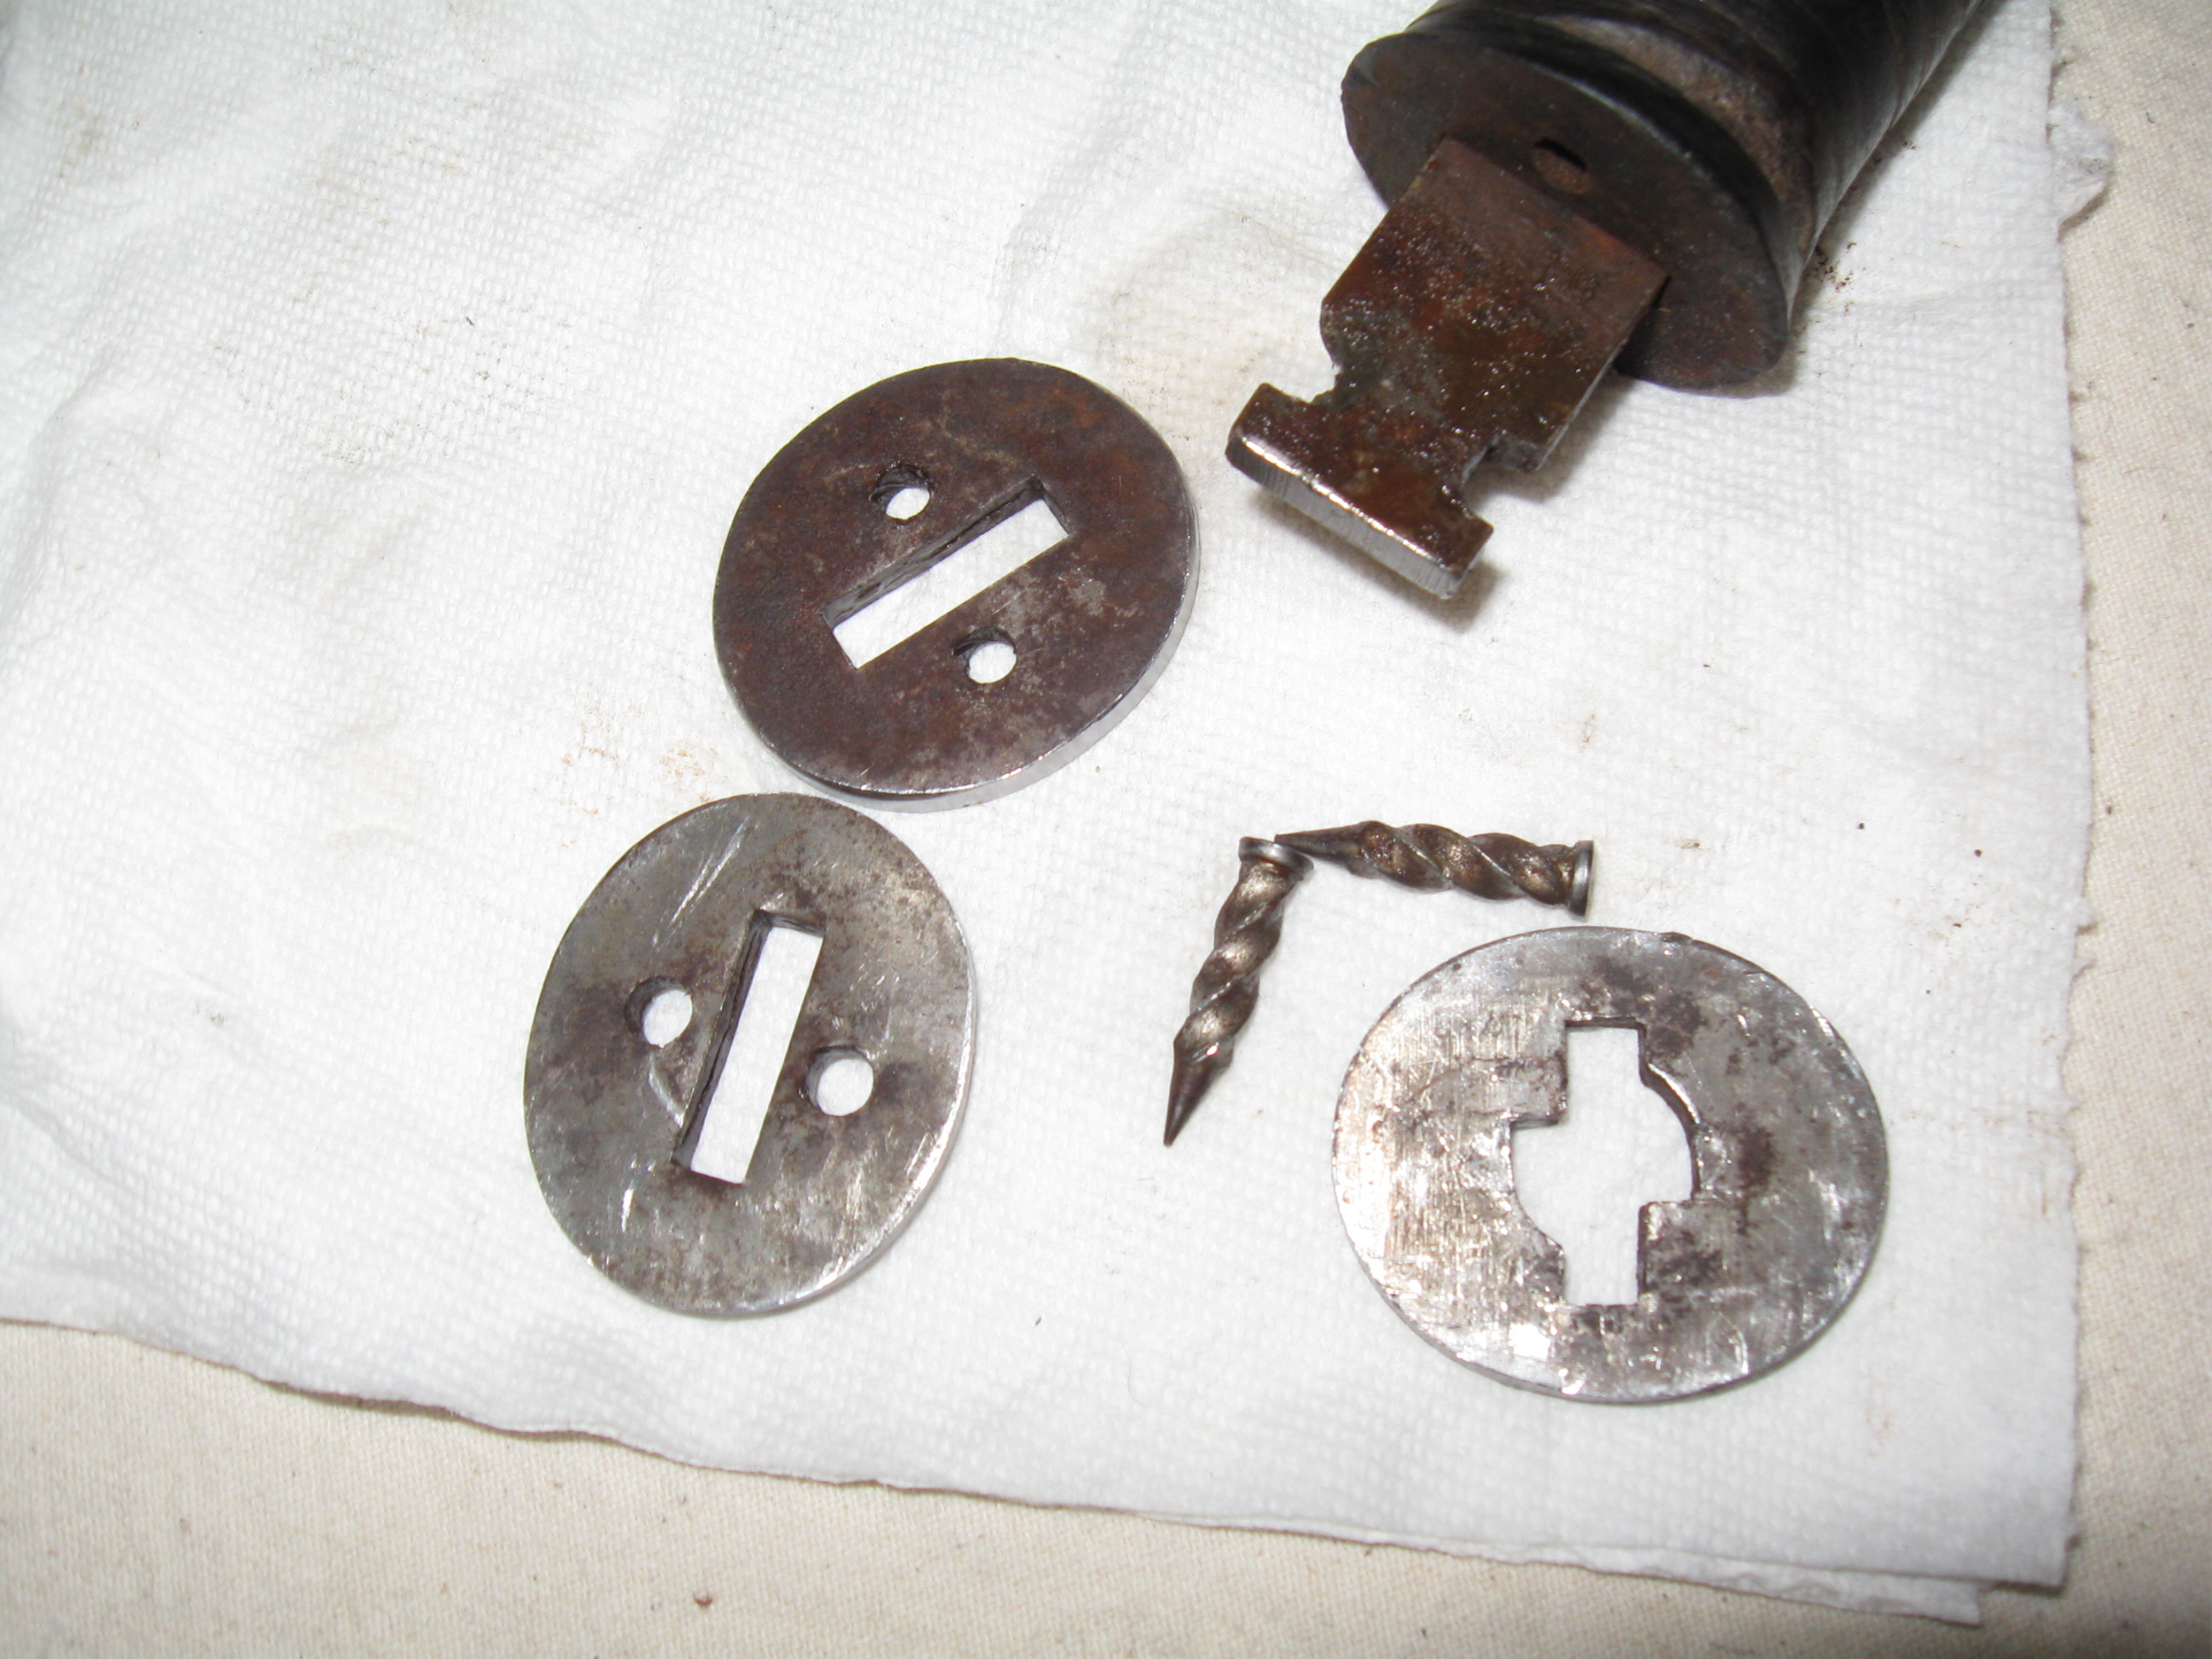
There are also plastic inserts between the leather washers and the pommel, the same with the front guard. Save these to reuse because they may be impossible to find or buy spacer material and make your own. I reused the one the knife had.
Once all the leather washers are removed, clean the tang, remove the rust and I sealed the tang with Ren Wax, you could also paint yours if so inclined.
Next you will want to put back on the plastic spacer at the guard and start adding leather washers. I used Elmers glue on each washer to help seal and secure the washers.
To reassemble you will need some sort of compression device to press the washers down tight and hold together while the glue you use sets up. I made up a simple one with some plywood, 6" bolts and wing nuts that was easy to tighten.
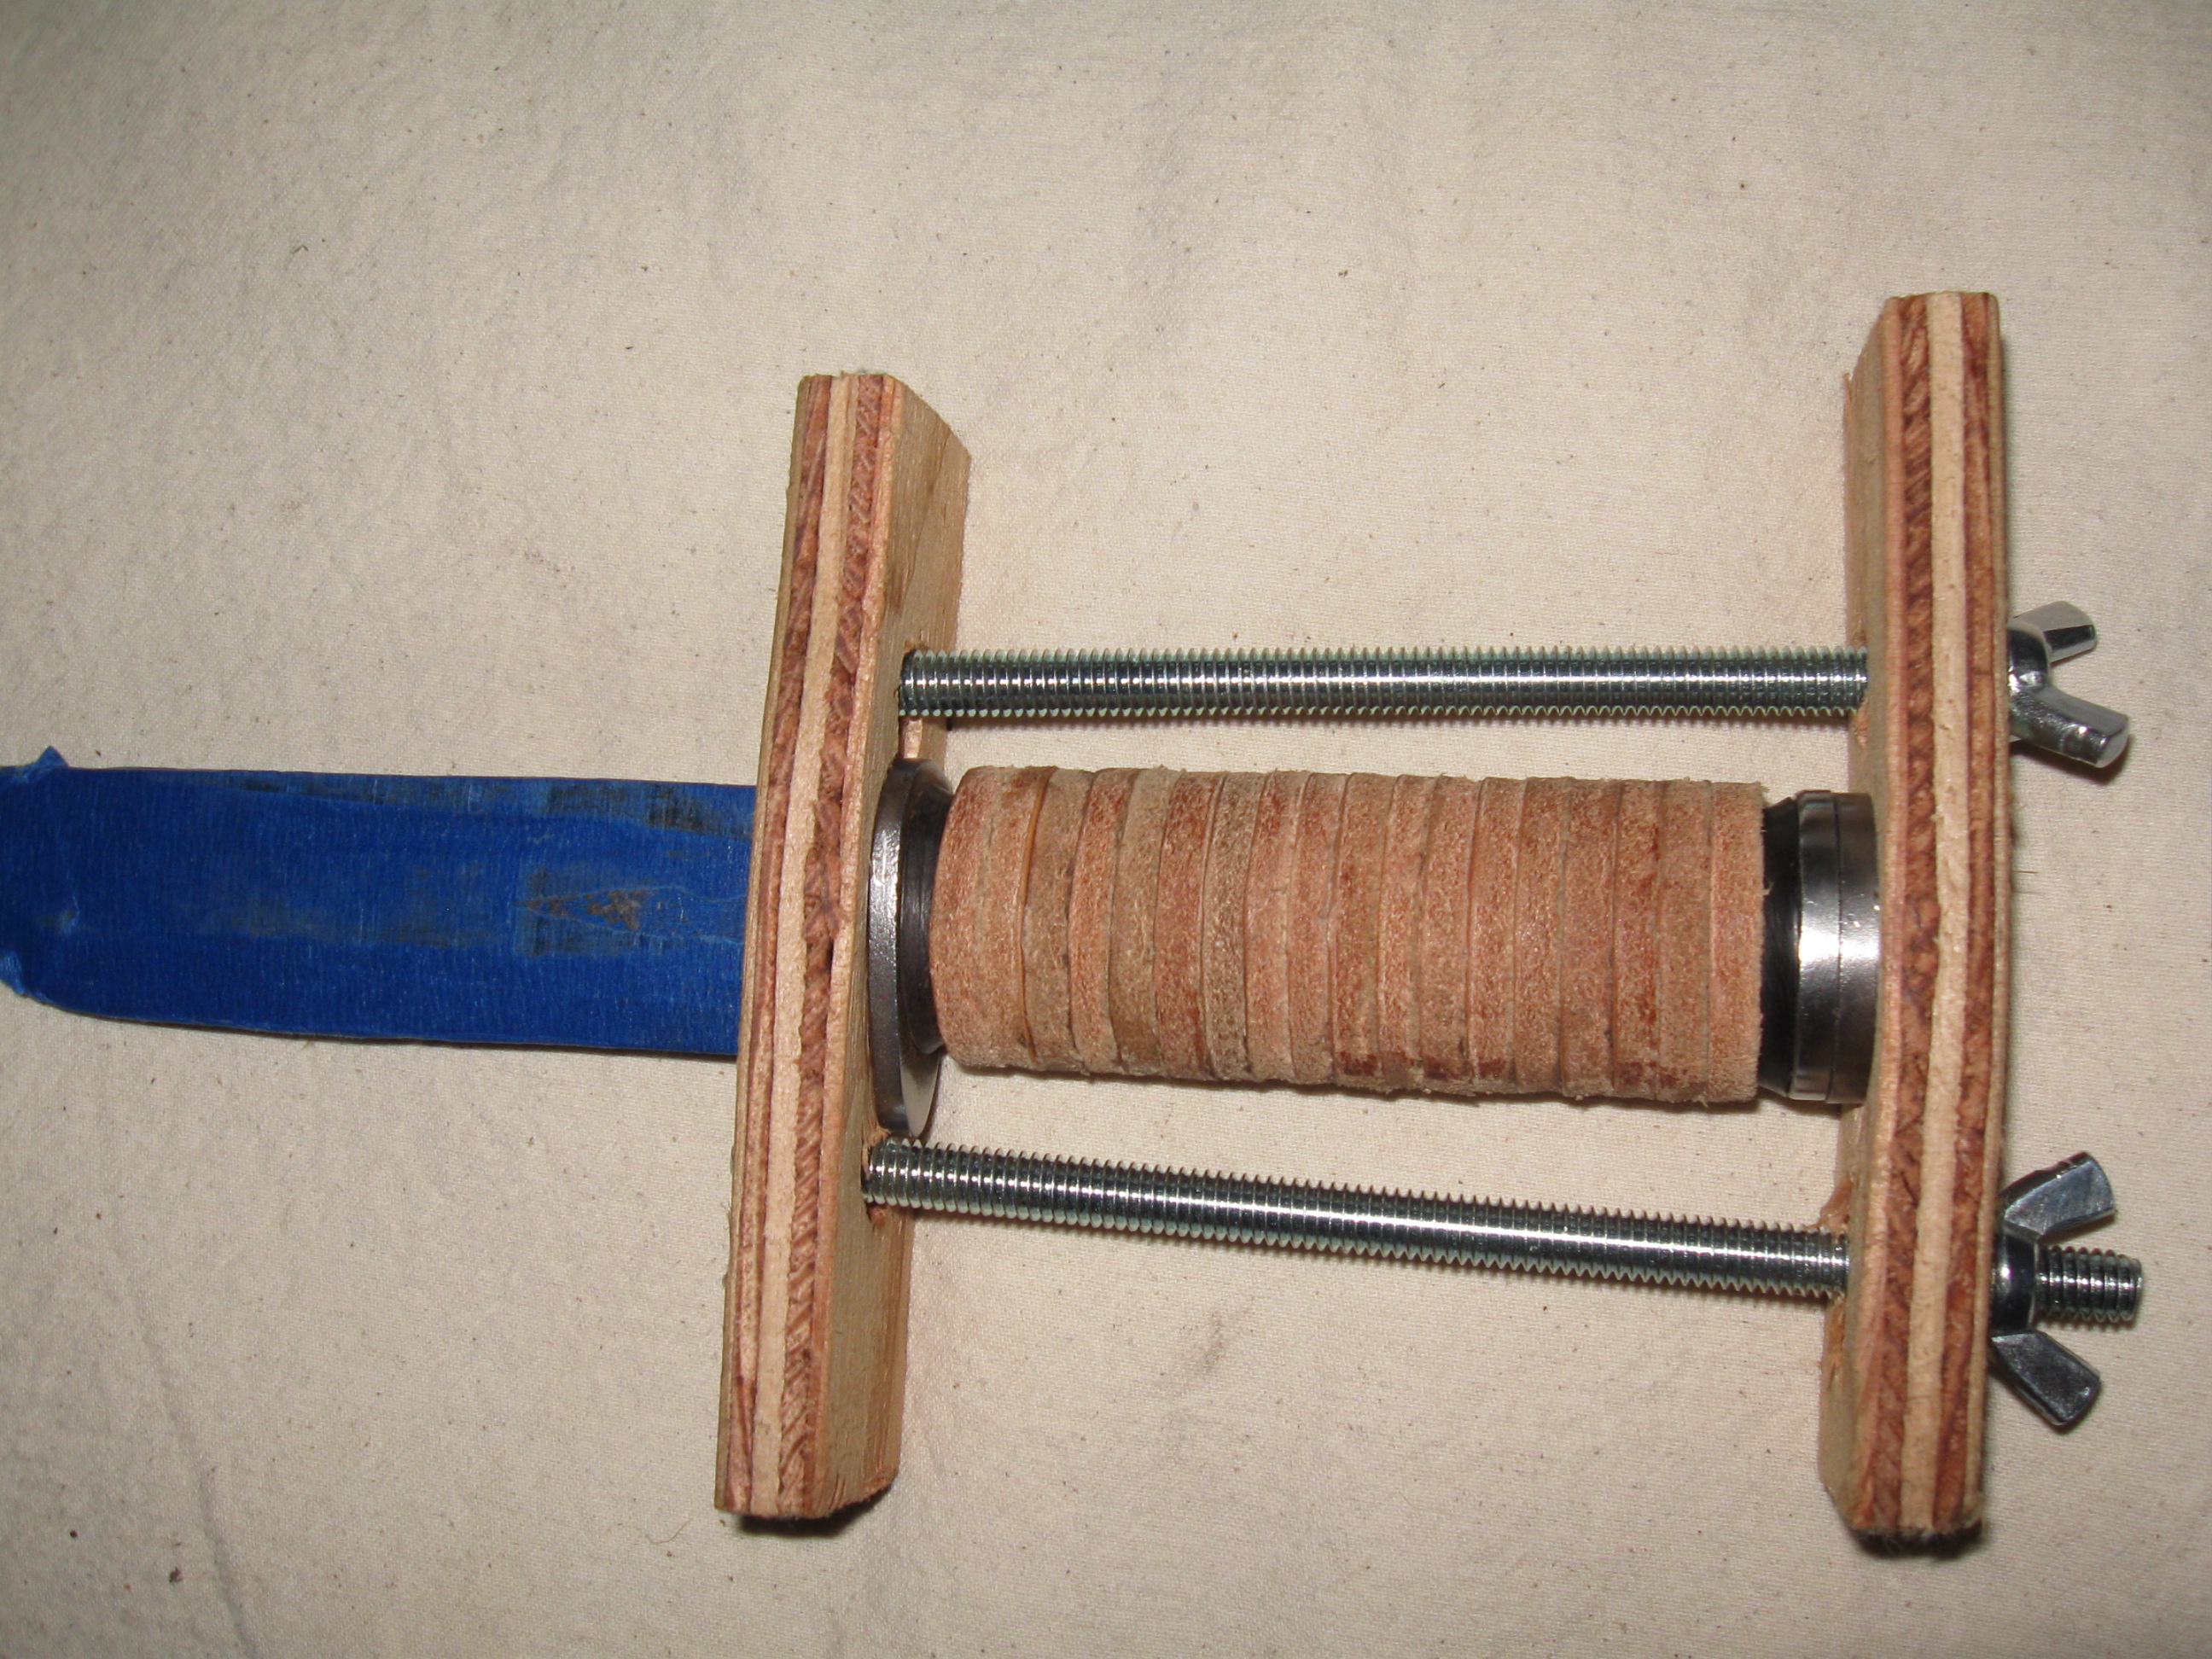
I cut a hole in the bottom to slide the blade through to the guide, I also had a hole the size of the tang so I could compress the washers in place periodically as I added them. I also taped the blade to prevent damage. I glued and added leather washers till it was full and let it set up overnight. Remember to put in the spacer before the metal pommel washers. I put the washers under a much pressure as I could, knowing they would expand once released by the wing nuts.
After it had time to set up, and before it could expand much I put on the metal washers and aligned them with the holes in the plastic spacers. The last step is to lock down the last metal washers which rotates into a locked position and drive in the metal spikes.

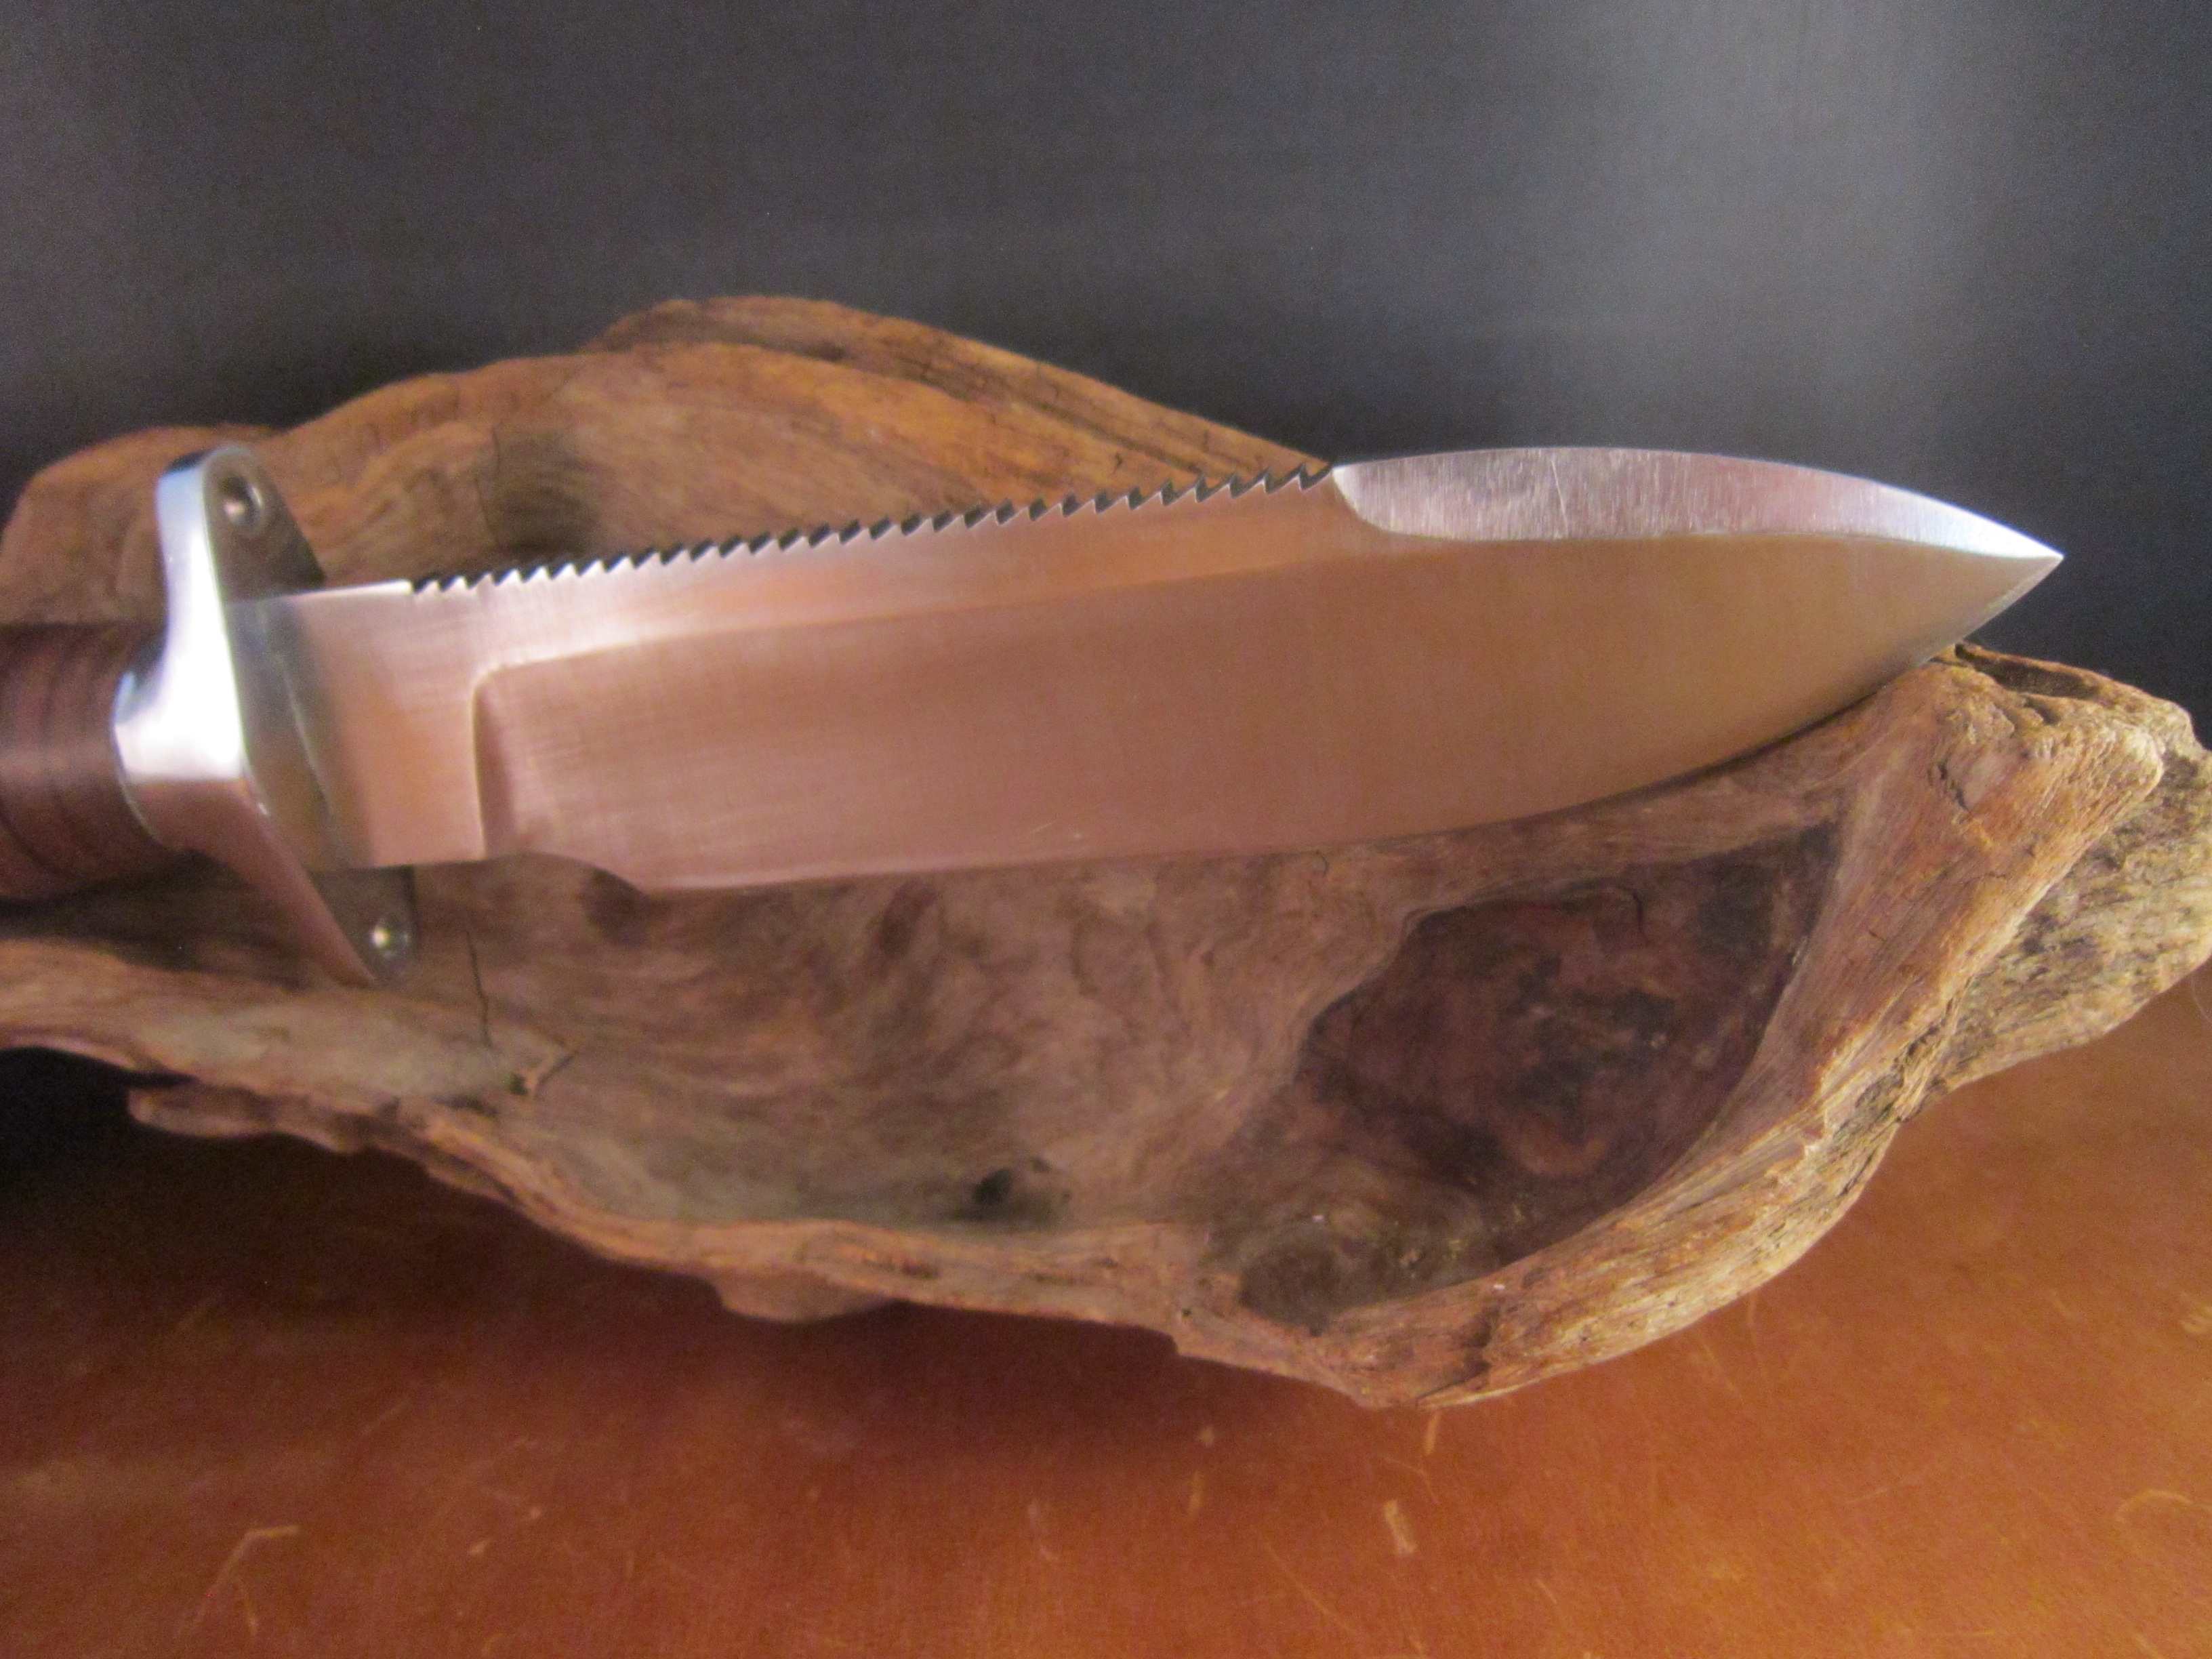
You are now ready to start shaping the handle to fit you hand. I used a file and a power sander till I got an oval shape I liked. I than use a heat gun (hair dryer would work) to heat the leather handle while I rubbed bees wax into it. I did this for some time until I felt like the leather was totally saturated and the leather sealed. You might want to use some other compound than beeswax, but I keep it around for leather so I used that.
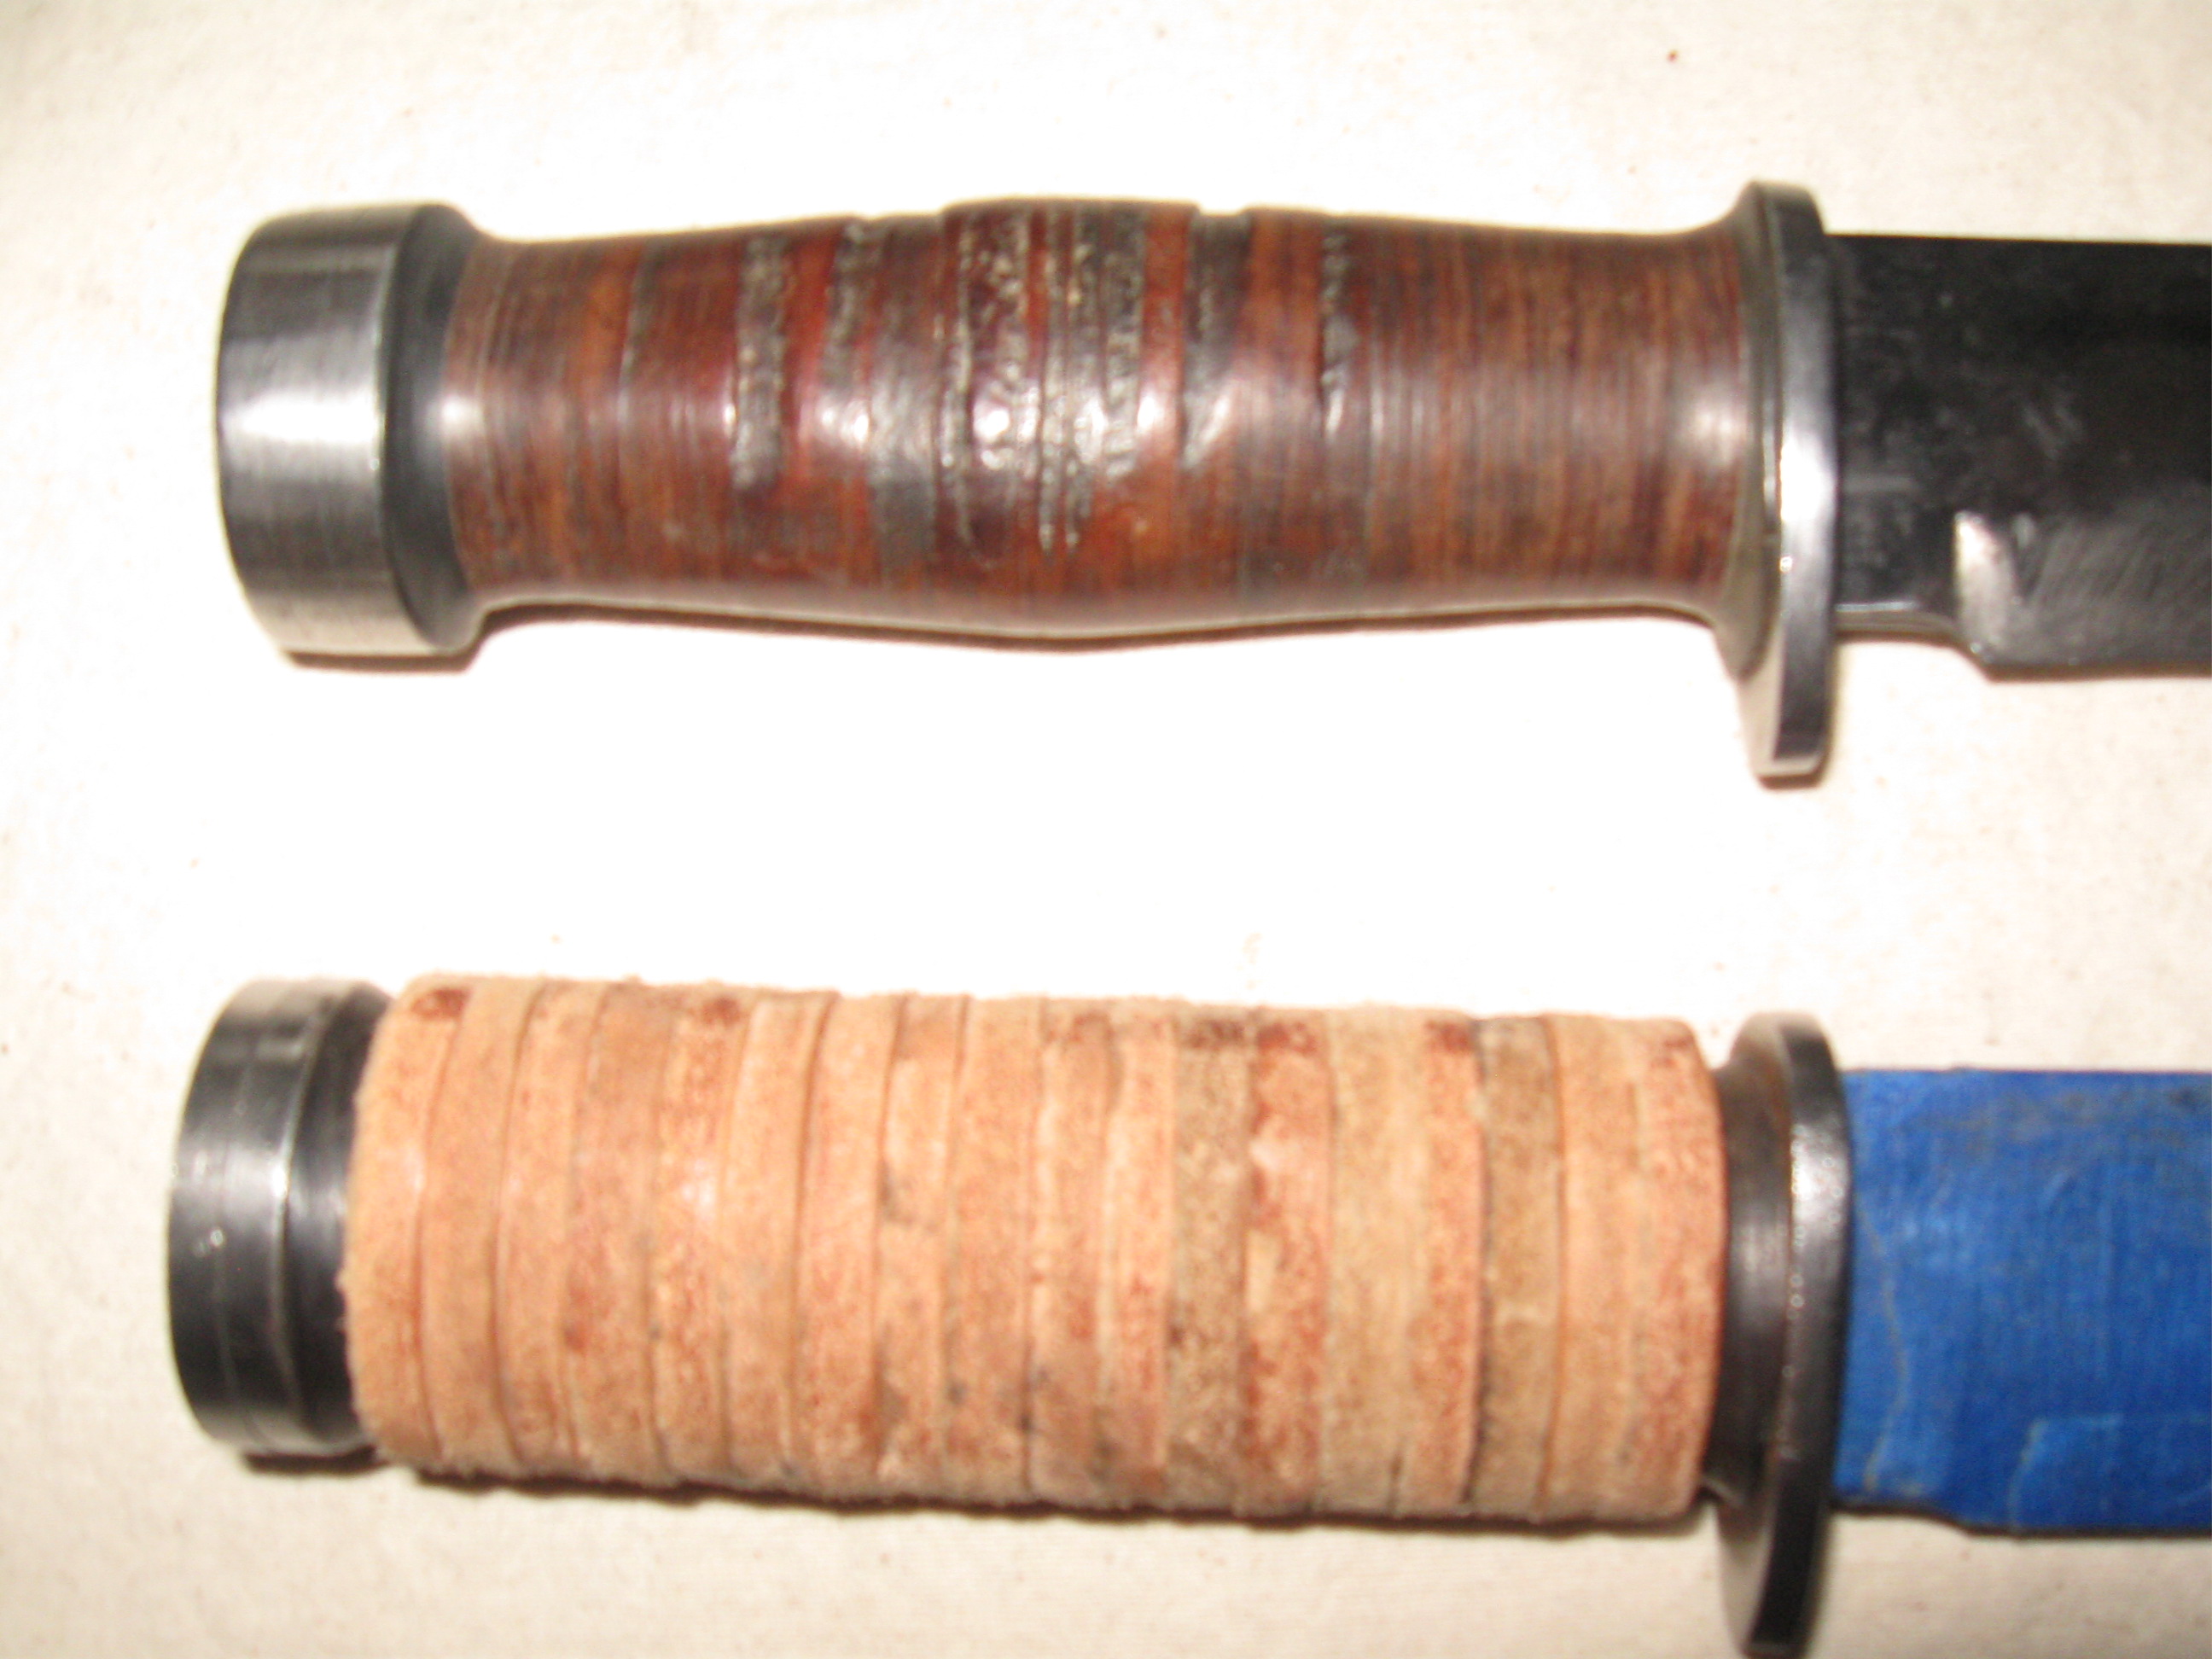
The end result was a knife that fit my hand well and had a nice looking patina and non-slip grip that I was happy with.